Traffic trails are a favourite subject of night photography enthusiasts the world over, but ask anyone who’s done it once and she’ll tell you it’s imperative you get your camera settings nailed down in advance of your shoot.
Trying to change your camera settings in the dark is not only difficult, but distracts you from other important things like composition. In this quick guide we suggest what we’ve found are the best camera settings for photographing traffic trails and cityscapes at night.
Of course, it’s important to remember that these are just a starting point. These camera settings will get you in the right ballpark to photograph traffic trails, but you will probably find that you want to make adjustments to your exposure settings to get the look you envisioned for your image.
If you can pre-set as many of these as possible, the faster you will be able to work on the night of your shoot and react to fast-moving subjects and scenes.
Gear you’ll need for shooting traffic trails
Whether you’re shooting on your phone or on a pro DSLR, a tripod is essential. For phones, a mini tripod will suffice (see down below our section on how to shoot traffic trails on a phone). But if you’re using an interchangeable lens camera or a bridge camera, you’ll want a full-size tripod to stabilise your camera over the longer exposure times. We prefer a carbon fibre tripod for its lightweight design, but an aluminium model will also serve you just fine.
You’ll also probably want a shutter release so that you can trigger the camera without having to touch it and introduce vibrations that could cause camera shake. A cabled release will work just fine and cost you very little, but for best results we prefer a wireless shutter release.
Shutter speed, aperture and ISO for traffic trails
Photographing traffic trails is one of the more challenging night photography subjects because of the mix of darkness and bright highlights.
For this reason it’s best to set your camera to its manual exposure mode. You’ll find that any of your camera’s automatic modes will struggle to capture an accurate exposure in these conditions.
In manual mode, try dialling in a shutter speed of about 30secs. Then set your aperture to f/8 and put your sensitivity at ISO 200.
Again, this is a good starting point. You’ll get a reasonable enough exposure with these settings in most conditions that you’ll be able to ascertain whether you need a faster or slower shutter speed, for instance.
You’ll also want to set your camera’s white balance. Shooting at night can lead to all sorts of odd colour casts, and when shooting cityscapes and traffic trails, the orange glow of street lamps – which will be your primary source of light – could produce harsh orange tones. As will the headlights of oncoming traffic.
So to combat this you will want to set your white balance to its tungsten/incandescent setting. It’s also always worth shooting in raw file format. Raw files give you a whole lot more flexibility to correct unwanted colour casts later in your photo editing software.
Finally, you’ll want to enable your long exposure noise reduction option in your camera’s main menu system.
Other settings to consider are setting your camera to manual focus. Focusing manually on traffic trails, though requires some patience…
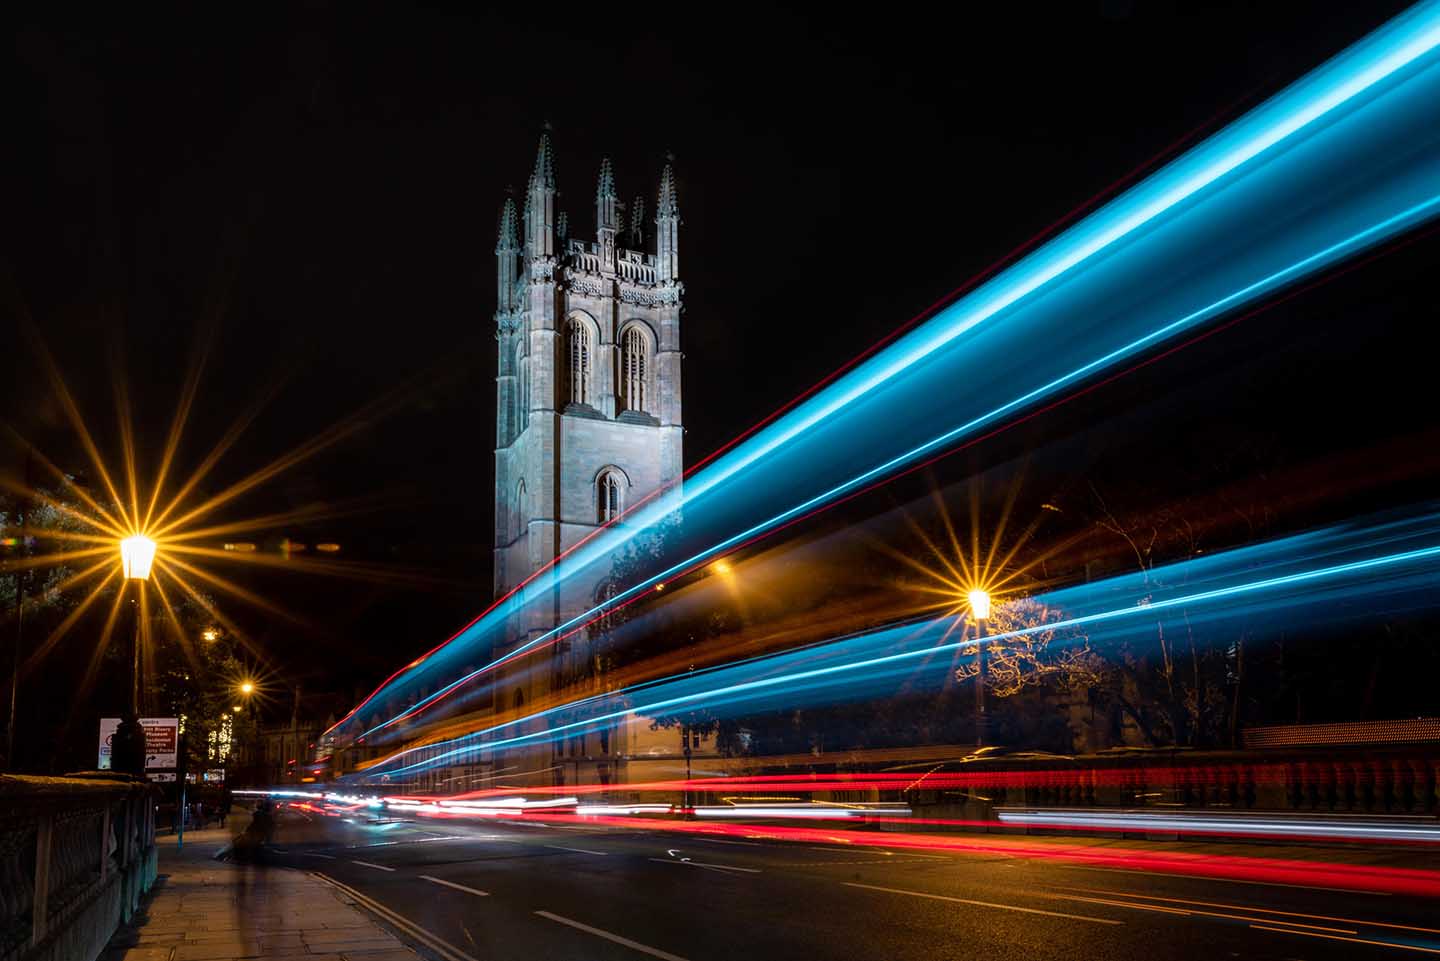
Check out this great photo by KirstySimpson that was entered into our Motion blur photo contest. See all the winners: https://photocrowd.com/photo-competitions/motion-blur-1-technique-photo-contest-9652/overview/
How to focus on traffic trails
Because you’re likely to be photographing traffic trails in a town or city, most of these locations should be bright enough to focus manually even though it’s night.
You’ll need to mount your camera on a tripod to shoot traffic trails and secure it in a fixed position. You can focus through your viewfinder if you want, but we find it’s a lot easier – and brighter – to use your Live View screen.
This allows you to zoom into any area of your scene, such as the highlights, and fine-tune the focus.
Next you’ll want to take a test shot. Open up the image in playback mode you can zoom into key parts of your image and determine if they are sharp.
How to check your exposure at night
Reviewing your image in playback mode will also give you an instant idea of whether your exposure is correct or needs to be adjusted. Top tip: using your camera’s histogram will help you better gauge your exposures.
Shooting nighttime scenes like this, you’ll probably find that your exposure graph is all bunched up on the left side of your histogram.
This is OK! In the daytime this might be a problem and suggest underexposure, but it’s to be expected because it’s night. There will be large sections of your frame that are dark.
The real clues to your exposure will be on the right side of your histogram. In layman’s terms, you’ll want to see a tail-like shape trailing off from those bunched shadows on the left. This tail should extend to the far right side of your histogram.
If this tail doesn’t extend the entire way across, it means your image is underexposed. So to remedy this you’ll either need to increase your ISO or dial in a longer shutter speed.
There should be a ‘tail’ that indicates the small amount of highlights in the image, and this should just reach the extreme right of the graph. If it doesn’t reach the end of the graph, the image is under-exposed, and you need to use a longer shutter speed or increase the ISO.
If your tail goes over the end of the graph, this indicates overexposure. You will probably lose detail in your highlights if you shoot at these settings, so dial in a faster shutter speed or reduce your sensitivity.
Best camera settings for traffic trails

- Drive mode: Single shot
- Exposure mode: Manual
- Shutter speed: 30 secs
- Aperture : f/8
- Sensitivity: ISO 200
- White balance : Tungsten
- Focus mode: Manual
- File format : Raw
How do I shoot light trails on my phone?
Improvements in smartphone technology mean you are now quite capable of shooting light trails on your phone with striking results. The same principles of long exposure photography and steadying the camera apply to your smartphone; you just have to know where to find the settings.
Best smartphone settings for photographing light trails
Most smartphones now, whether you’re using Apple or Samsung or Huawei or something else, have a manual or ‘Pro’ mode in the standard camera app. This mode lets you take full manual control of your phone’s camera.
Maybe you have a budget-end phone that doesn’t offer manual control of the camera? Don’t worry. There are a number of third-party manual camera control apps for both iOS and Android, such as Manual Camera for Android users and Slow Shutter Cam for Apple users.
Next you’ll want to set the shutter speed. On our Huawei P20 Pro, for instance, you can set shutter speeds as long as 30secs, which should be perfectly adequate for photographing traffic light trails on your phone.
You’ll then need to adjust your ISO. The lower the ISO value you can set, the cleaner and less noisy your images will be. Many smartphone cameras offer ISO values as low as 50. Anywhere in the ISO 50 to 200 range is ideal.
It goes without saying, you’ll need to stabilise your phone when shooting exposures this long, just as you would a DSLR or mirrorless camera on a tripod. A mini tripod, such as the 3 Legged Thing Iggy, which comes with a smartphone cradle adapter, is really handy. You can use its small stature to compose in some really interesting angles, such as down low at street level or on the rail of an overpass. You can also use the cradle adapters to mount to a traditional full-length tripod.
Does your phone have a self-timer in the camera app? Using the self-timer to trigger the shutter reduces the risk of your hand movement causing vibrations and camera shake. If your phone doesn’t have a self-timer, there are a number of third-party self-timer apps for both iOS and Android.
What’s more, some smartphones have dedicated ‘Light Trail’ shooting modes that make the process even simpler. The Huawei P30 Pro, for example, has this and calculates the exposure for you.
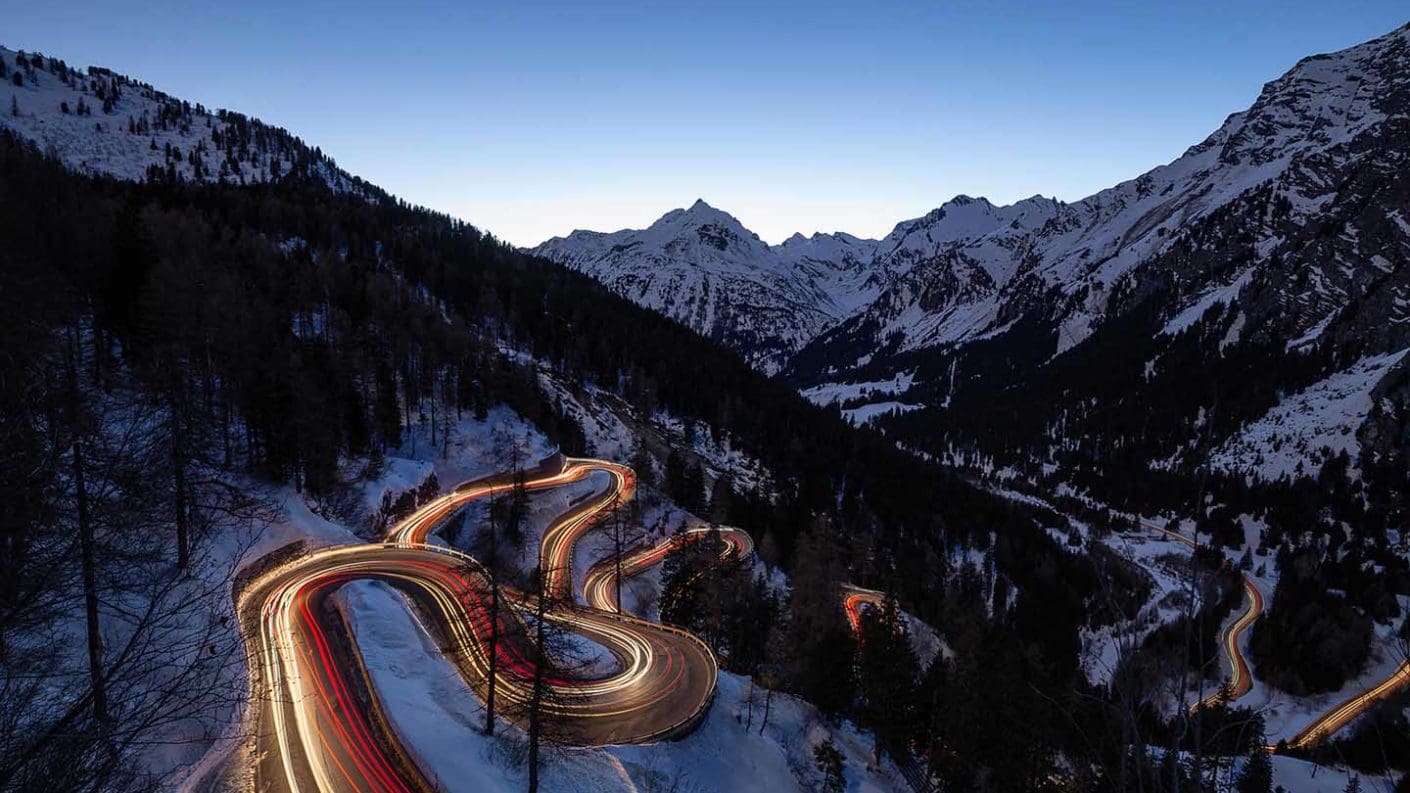
Image Top: Photo © Wim Solheim
Check out this great photo by Wim Solheim that was entered into our Motion blur photo contest. See all the winners: https://photocrowd.com/photo-competitions/motion-blur-1-technique-photo-contest-9652/overview/
