Selling a camera you no longer use is a great way to get some cash towards a new camera and it’s easy to make sure you get a fair price. In the video below, which is sponsored by MPB.com, we explain how to get your camera ready for sale so that you can get the best price, and the buyer gets the best possible experience.
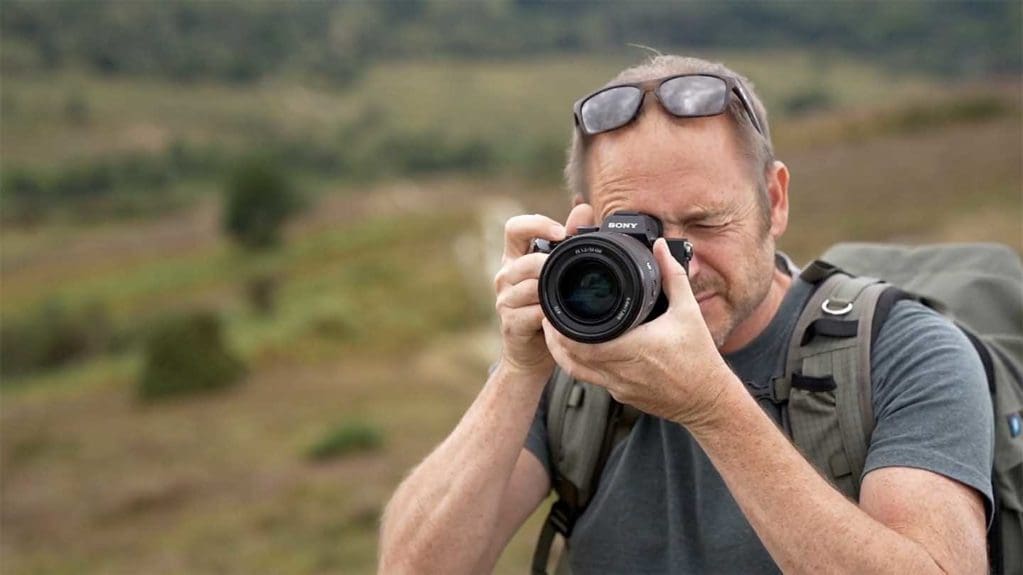
Firstly, if it’s been a while since you used the camera, it’s worth running a few checks and firing off some test shots to make sure that everything is still functioning correctly, so you’ll need to charge the battery. Take shots throughout the shutter speed range and make sure that the exposure adjusts. Do the same thing at either end of the aperture, range – this is particularly important if the lens is fixed or if you’re selling the lens with the camera. Also check that the focusing system works across its full range.
If all is well, it’s time to find as many of the accessories that were supplied with your camera as you can. You can usually find a list of all the accessories in the camera’s manual. Alternatively, if you still have the camera’s original packing, there’s often a list of the accessories printed somewhere. If you don’t have either of those, you may be able to find a list of the included accessories on the manufacturer’s website or a retailer’s website.
Generally, the list includes things like the body cap, battery, battery charger, power cable, connection cables, camera strap, viewfinder eyecup, a manual and sometimes a cable-connection protector.
If the original battery has long since died and can’t be recharged anymore, include the battery that you use with the camera, but make it clear in your description if this is a third party item. You can sell any additional batteries separately to make a bit more money if they are in good order.
Get it clean
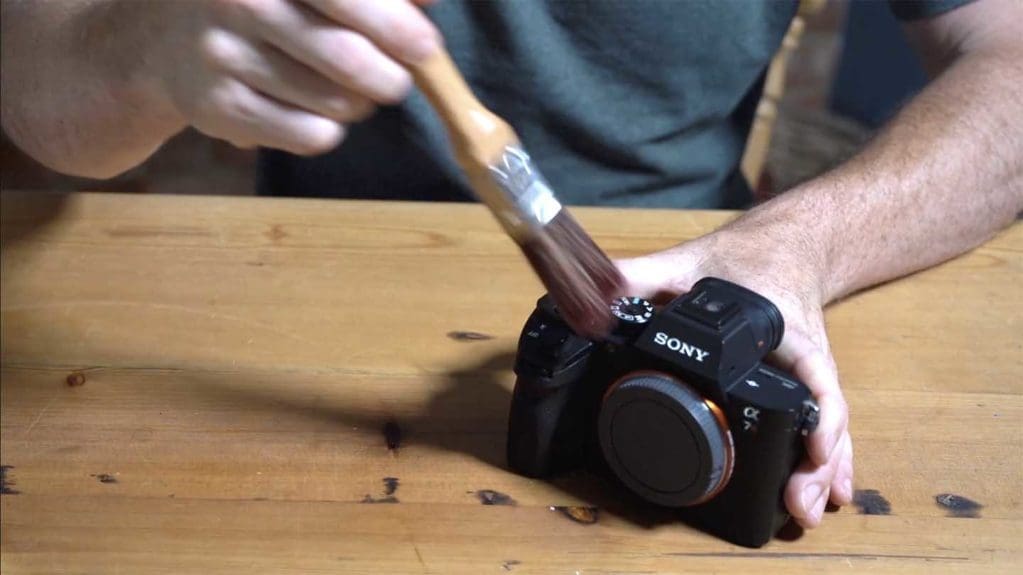
Next, give your camera a good clean. A clean soft paint brush will do most of the work.
If your camera needs a more intensive clean, then a damp cloth will usually do the job, but make sure you have squeezed out as much water as possible so the cloth is nearly dry and don’t take it anywhere near any of the ports or contacts.
Finally, give your camera a good buff with a lens cloth, paying particular attention to the screen and viewfinder. A bulb blower can be handy for cleaning the viewfinder, mirrorbox and focus areas of an SLR.
Check the sensor
With your camera looking nice and clean on the outside, it’s time to turn your attention to the inside. If you have the kit and you’re comfortable doing it, check the sensor and give it a clean if it has any marks. Be sure to only use products that are specifically designed for cleaning a sensor, never used compressed air. A sensor-cleaning blower bulb will get rid of loose particles but you’re likely to need a cleaning swab with fluid to shift anything that’s stuck on – however, if you’re selling to a specialist retailer such as MPB, they will usually do the job before the camera is sold on.
Reset the camera
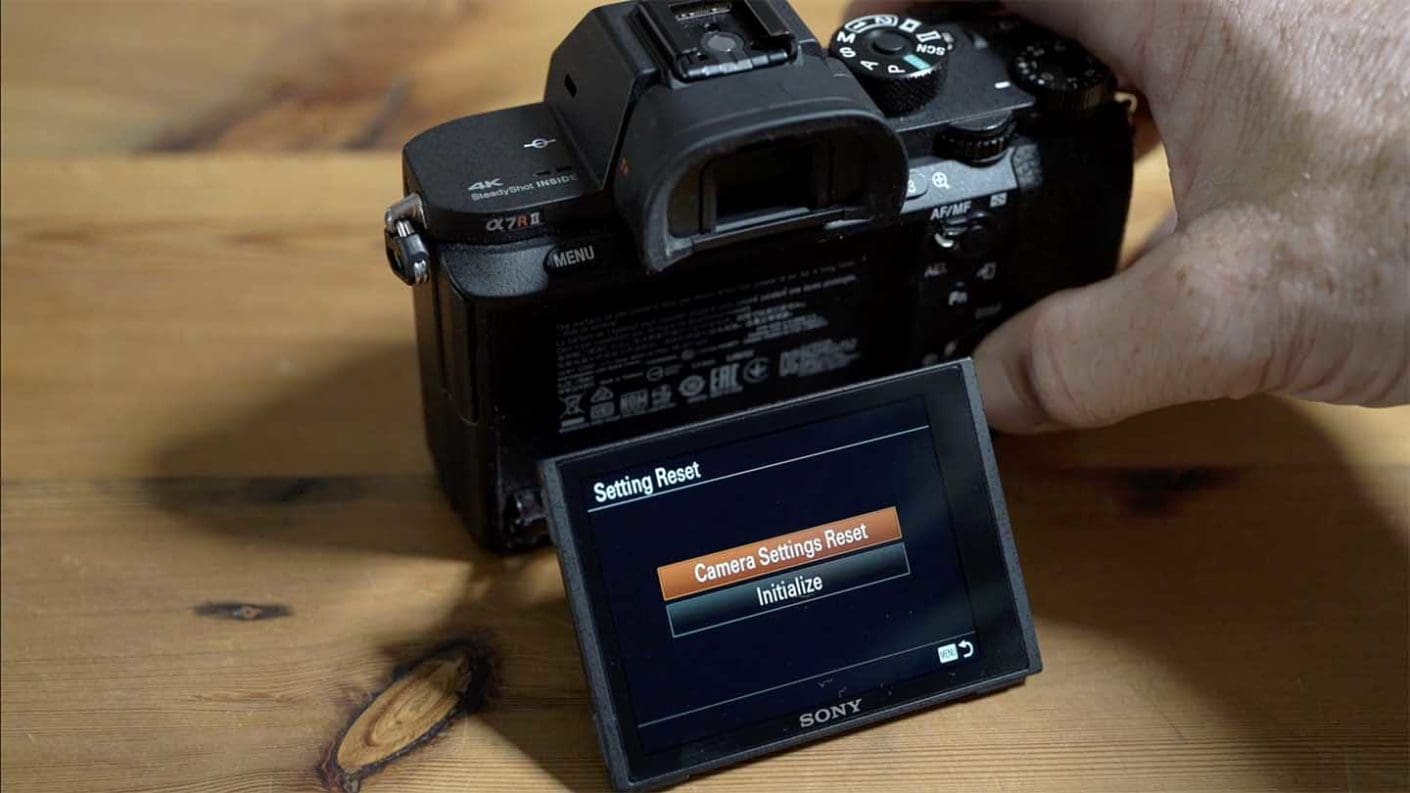
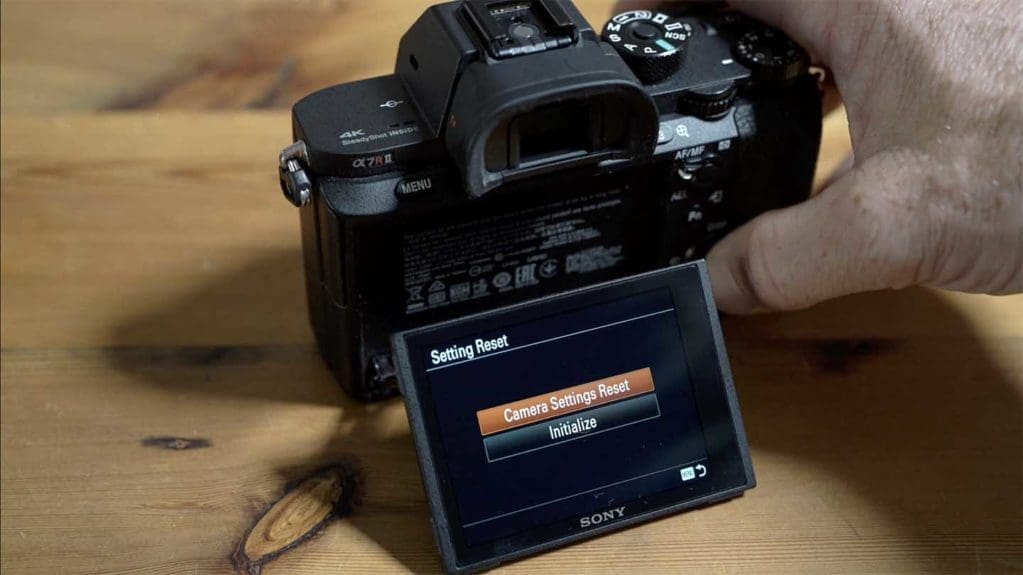
Next, find the ‘Reset’ option in the camera’s menu and set it back to the default settings so that any of your customisation options are removed. This means that the camera will perform as the next owner expects.
If you’re feeling generous, it’s also a nice touch to check the firmware version and update it if necessary so that the latest features are all present and correct.
Decide the condition
With your camera clean and ready to go, you’re in a good position to assess its condition. MPB, for example, divides cameras into five condition levels, like new, excellent, good, well used and heavily used and you can find advice on the company’s website about what these mean.
The shutter count, the number of times that your camera has been fired is another useful indicator of how much use it’s had as you can compare it against the manufacturer’s claimed shutter life expectancy. There are a variety of ways to find a camera’s shutter count, it varies from make to make, so we recommend searching the internet for your specific model.
So with the camera condition decided, it’s now time to pack it ready for sending to the new owner. But before you do that, make sure that you have removed any memory cards – it often gets missed.
Pack the camera
Although it’s not essential, many buyers like to get the camera in its original box, so it’s worth packing your camera and all its accessories into it if you still have the original packaging. Camera manufacturers are masters at packing things into small boxes like 3D Tetris, so take your time as you work out what’s supposed to go where. A cable tie or rubber band will help keep cables tidy so they fit into their allotted space.
If you don’t have the original box, put the camera with its body cap on, in a clean, clear food bag with a seal and close it up before wrapping it in bubble-wrap or something similar. Put the accessories in another bag and seal it before wrapping them in more bubble-wrap.
Next, find a cardboard box and put some bubble-wrap or other light-weight packing material at the bottom before putting your camera and accessories in – either in the bags or the original box, and then cover everything with more packing material, ensuring that some goes down each side so all the kit is nicely protected from every side. Fill the box with packing materials so that when it’s sealed, the camera doesn’t move around inside.
That’s it, you’re ready to send your camera to whoever is buying it.
