Photographers get very excited about autumn, but winter also has lots of photographic opportunities. A clear sky overnight usually results in a dramatic fall in temperature and by morning there’s a covering of frost that can turn a familiar landscape into a more interesting, magical scene. It’s a recipe for great photography if you follow these tips on how to photograph frost.
Preparation
Keep an eye on the weather forecast. If a clear night is forecast, then there is likely to be frost the next morning.
Charge your camera’s battery, format the memory card and get your bag packed that night, because if the sky is still clear in the morning the frost may not last for long. Unless its very cold frost melts almost as soon as the sun hits it.
Get out as early as you can in the morning.
What exposure mode should I use?
Like most landscape photography, depth of field is usually the priority rather than freezing movement, so I recommend shooting in aperture priority or manual exposure mode. If you’re a new photographer, you might like to try Landscape mode, that tells the camera to use a small aperture so that there’s a wide sharp area in front of and behind the focus point.
How to expose for frost?
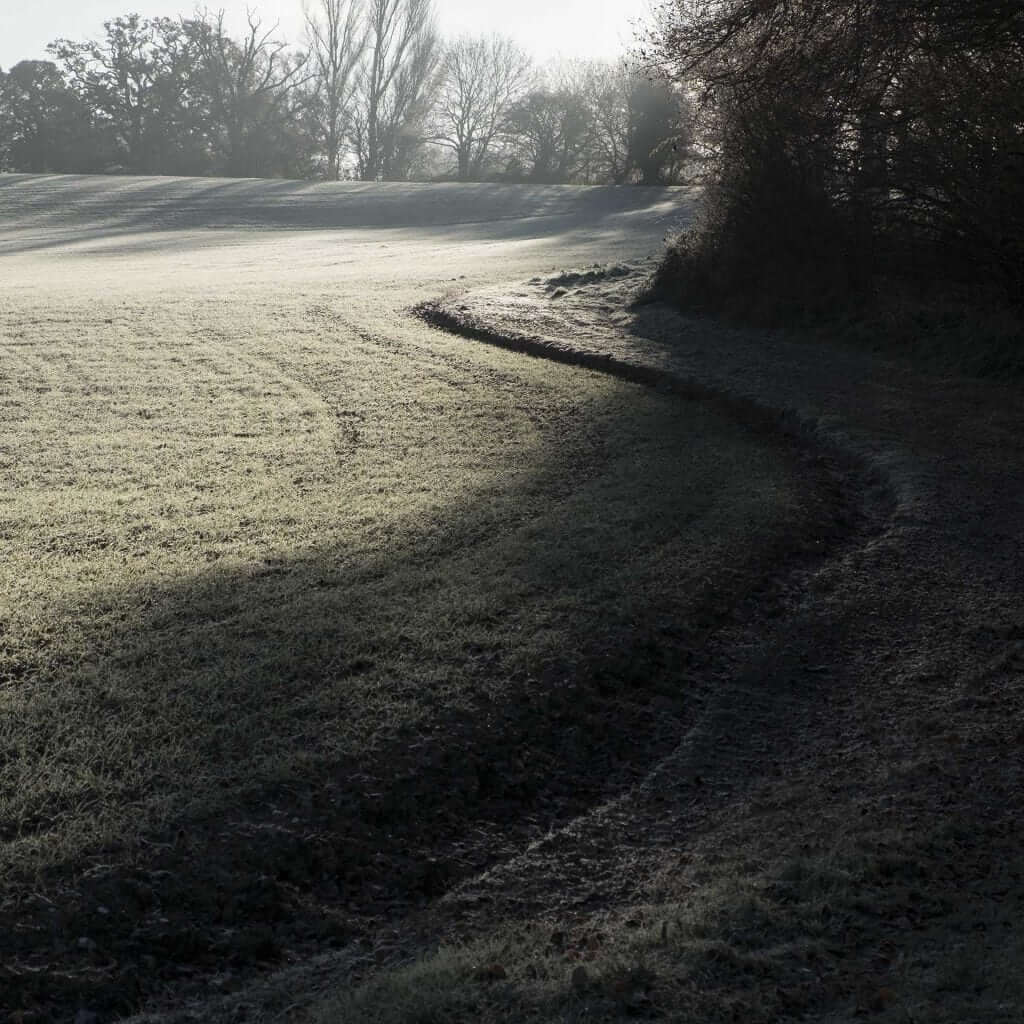
Some cameras will take it in their stride, but all the white glistening frost can trick your camera into underexposing, so you may need to dial in a little exposure compensation to brighten things up.
If you’re shooting in manual exposure mode, adjust accordingly. However, if you’re shooting in a shaded, frosty pocket in the landscape, you may find the opposite is true and the image is a bit too bright, so keep an eye on your camera’s histogram.
If you’re using a mirrorless camera, you should be able to assess exposure in the viewfinder but the hsitogram view is useful.
Which white balance setting should I use for frost?
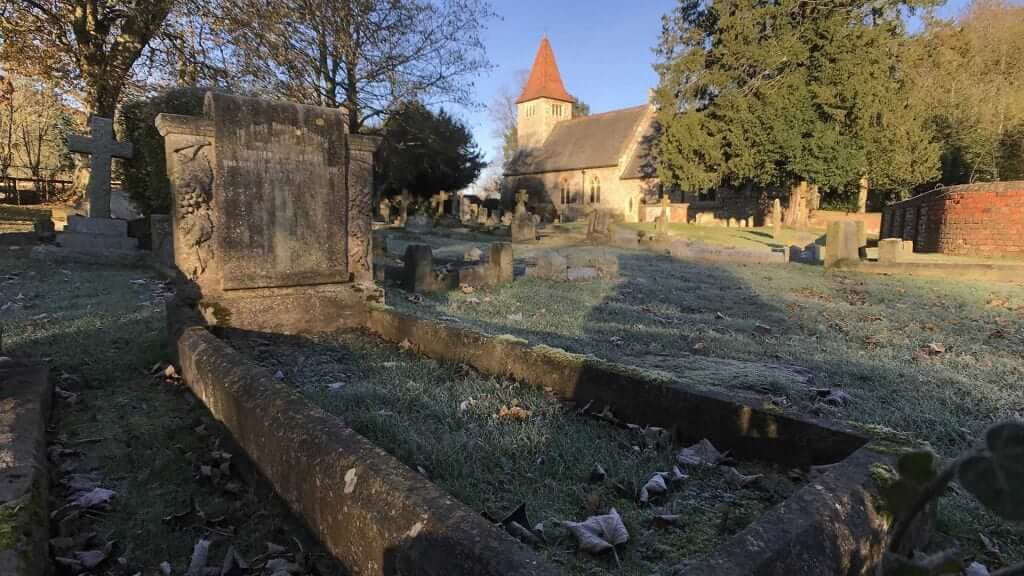
The daylight or sunny white balance setting is usually the best bet as this will help retain the cool tones of the shaded frosty areas, while sunny spots look warm. Ideally, shoot raw files (or raw and jpeg files simultaneously) so that you have the maximum amount of colour data if you want to make any adjustments post-capture.
Do I need a tripod?
A tripod is advisable, especially if you get up early to shoot the sunrise, or you’re shooting in shaded areas as light levels can be quite low in the winter time.
What should I shoot?
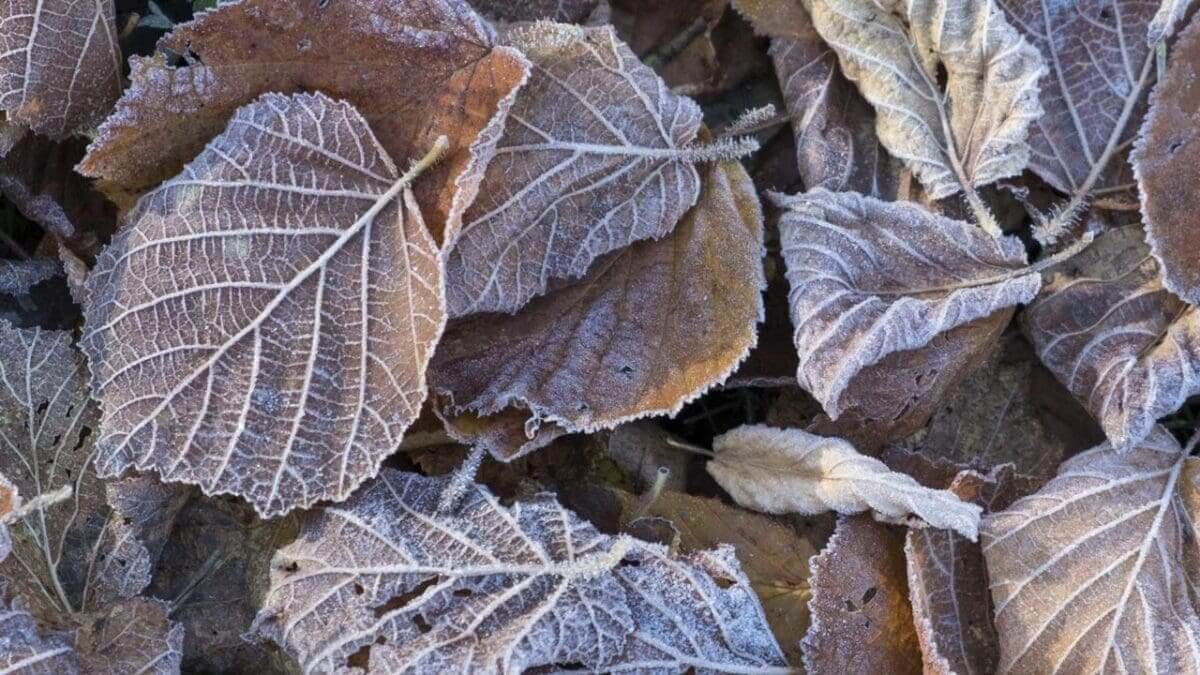
Frosty landscapes are lovely but there are plenty of other photographic opportunities in frosty conditions. Look for heavily frosted vegetation and leaves, ice in puddles, cobwebs and delicate lace-like patterns of frost on all sorts of subjects including cars, fence posts and walls. A macro lens can be useful.
Also, keep an eye open for backlit subjects. The sun is very low during the winter and this can result in some very attractive light.
How to photograph frost on windows
Frost can leave stunning patterns full of minute details on windows, which make excellent close-up subjects. To photograph frost on windows you’l want to mount your camera on a tripod and position it parallel to the window.
If you have a macro lens, this is the time to use it. Otherwise, you can still photograph frost on your window with even your standard lens.
If possible, you’ll want the frost patterns on your window to be backlit so as to reveal more of their intricate details. Then, set your ISO to its lowest setting and dial in a wide aperture to create a nice shallow depth of field. Shallow depth of field will help emphasise your key focal point, or if there are repeating patterns it will create a nice effect as it leads out of focus.
Anything else I should know about shooting frosty scenes?
Before you walk into a scene, have good look at it and consider the best shooting location and angle. Then pick your route to the shooting location carefully, you don’t want to pick up your camera and realise you’ve made footprints across your beautiful landscape composition.
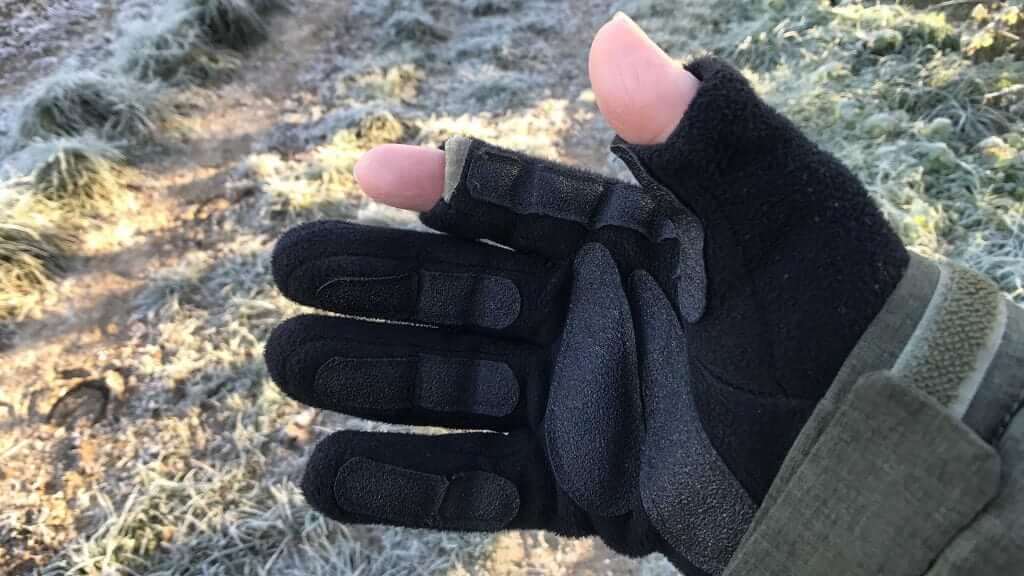
Also, while fingerless gloves are useful, they expose more fingers than you really need to use your camera. In the past, I’ve chopped the tip off index fingers and thumbs of a pair of windproof fleece gloves to make a pair of photography gloves (shown in the photo below). However, Vallerret makes some very good purpose-made gloves.
How to photograph frost: summary
1. Check the weather forecast
2. Shoot in aperture priority or manual exposure mode
3. Keep and eye on the histogram and increase exposure if necessary
4. Use the daylight or sunny white balance setting
5. Use a tripod
6. Shot landscapes and frosted details
7. Remember that you make footprints in frost


Thanks, just what I needed. I wish there had been a discussion of how to pick up colour highlights…those sparkles that we see. I find I have to be out of focus to catch the colour, but am trying hard to get the shot like my eyes see it.