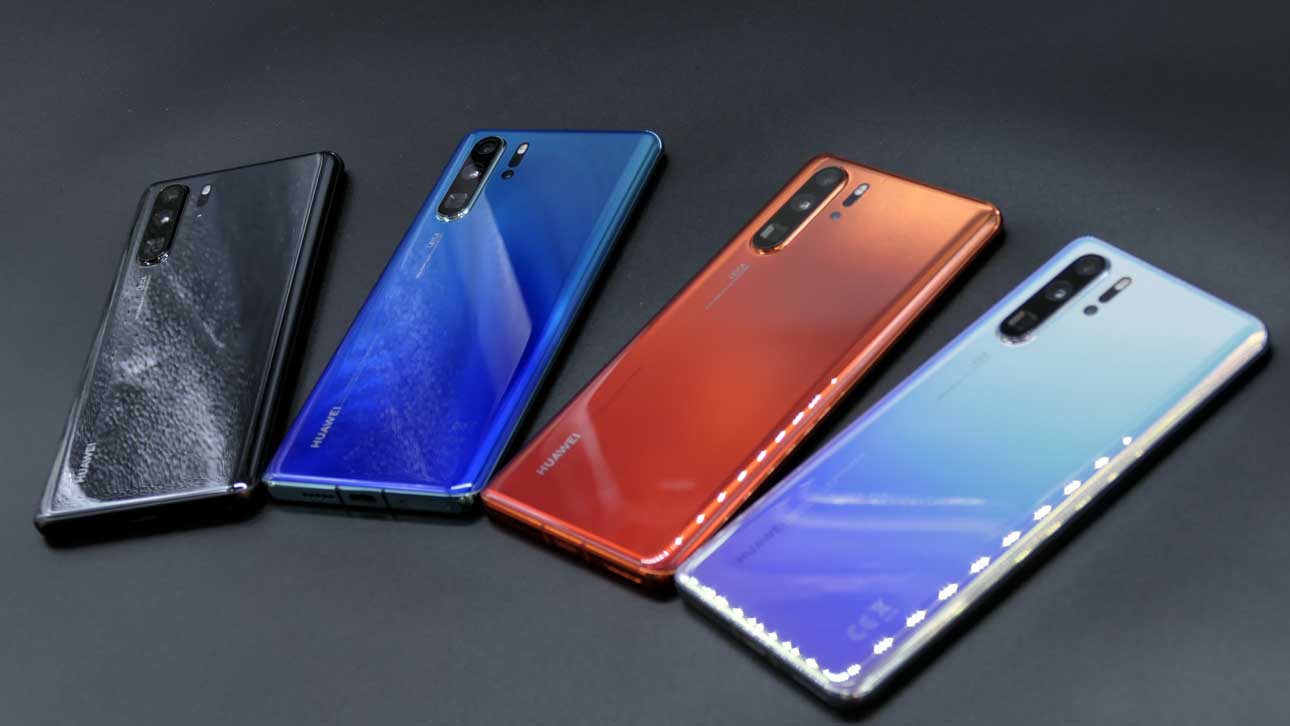
The Huawei P30 Pro has bee one of the most hotly anticipated smartphones of the past year, and this is largely down to the stunning camera performance of its predecessor, the P20 Pro. The P30 Pro boasts a beast of a camera – four, in fact! But with its impressive spec sheet, it might seem overwhelming when you get started using it. If you’re a photographer looking at this smartphone to be your everyday, take-everywhere camera, this is how to set up the Huawei P30 Pro to ensure you get the best images and video possible.
Best settings for the Huawei P30 Pro
01 Natural Colours
If you’re serious about your photography, you want your colours to look as natural as possible. This is a quick and easy adjustment to make, and is the first thing you should do when setting up your P30 Pro for the first time to take photos.
When you click the cog icon and go into the Settings menu, select the Display sub-menu and then choose the Eye Comfort option. Here you can drag the slider to enable this mode, which filters out blue light to relieve visual fatigue.
Doing this gives your screen an overall warmer tint; however, you can fine tune this tint via a slider at the bottom of the screen once the mode is turned on.
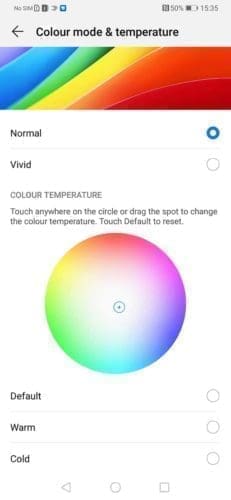
Also in the Display menu you will find further options to change the Colour mode and Temperature. We like to stick to Normal colour mode, but you can also select Vivid, Warm or Cold and fine tune these selections by dragging a pin around a colour wheel.
02 Hide the notch
Some people get really wound up about the notch at the top of their phone. Other people don’t mind it.
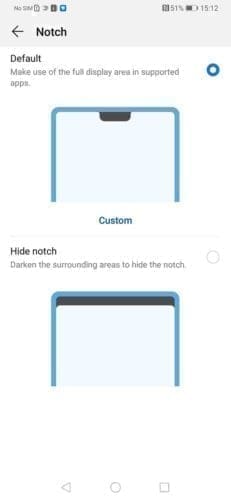
The notch is a small black circle or wider area that surrounds the front selfie camera. On the P30 Pro – like the P20 Pro – Huawei has given users the option to hide the notch.
To do this, go to your Settings menu and again tap Display. From here you want to choose More Display options and then tap Notch. In here you can tap to hide or enable the notch, as you desire. The notch doesn’t really disappear, it’s hidden by a black bar across the top of the screen.
03 Set the resolution
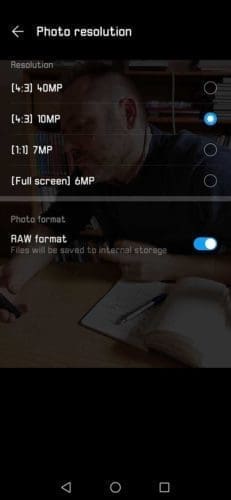
In the P30 Pro’s camera app, tap the cog icon at the top right to enter the settings menu. Resolution is your first setting in this menu. If shooting stills, you have the option to record images at 40 megapixels (4:3), 10 megapixels (4:30, 7 megapixels (1:1) or 6 megapixels (Full Screen).
The 40-megapixel option is the highest resolution available but if you use it you lose some of the benefits of the P30 Pro’s multi-camera system. The most noticeable loss is the zoom function. You can’t zoom if the 40Mp option is selected.
We recommend opting for 10Mp as this gives you the full benefit of the multi-camera set-up.
04 Shoot raw
The Huawei P30 Pro is also capable of shooting raw files when using the camera in its Pro mode.
To access the option, when in Pro mode go into Settings, then go to Resolution. At the bottom of this menu you can tap to enable and disable Raw shooting.
05 Switch between the P30 Pro’s cameras in Pro mode
When in the Huawei P30 Pro’s Pro mode you can swap between the three rear cameras (not the fourth, or TOF, camera).
On the right side of your screen, you’ll see it defaults to the Wide-angle camera. When shooting Wide, tap the Settings icon and you’ll be able to choose from resolutions of 20MP 4:3), 15MP (1:1) and 12MP (full screen).
Tap the dot above the Wide camera in the preview screen and you’ll now be shooting with the 1x camera, which offers resolutions of 40MP (4:3), 10MP (4:3), 7MP (1:1) and 6MP (full screen).
The dot above that on the live view screen is the telephoto camera, or 5x zoom. In the settings menu it offers resolutions of 8MP (4:3), 6MP (1:1) and 5MP (18:9).
06 Activate the grid and level
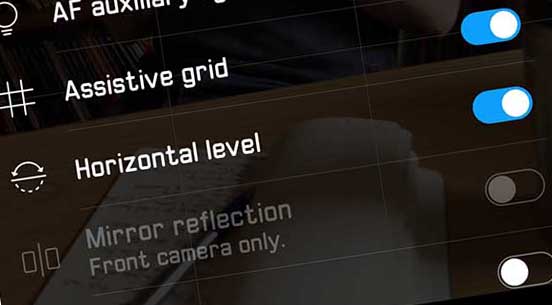
The grid and level are now available in both the Pro and standard Photo modes on the Huawei P30 Pro. On the P20 Pro you only had access to these composition tools in the Pro mode.
They are a quick and easy to way to ensure you’re framing your horizons level and main subject on the third.
To enable these, click on the Settings, or cog, icon at the top right of your screen in the camera app. You can activate the grid and level about midway through the menu.
07 Turn off Master AI
Huawei’s AI technology is superb, to say the least. However, sometimes you may want to take a little more control.
You can, when the AI algorithm flashes its suggested scene mode, tap the little X and close it individually for each shot. But this can become a distraction if you know you don’t want these effects.
When you’re in the camera app, you’ll see a small AI logo at the top of the live view screen. Simply press this to turn the P30 Pro’s Master AI on or off.
08 Enable Ultra Snapshot
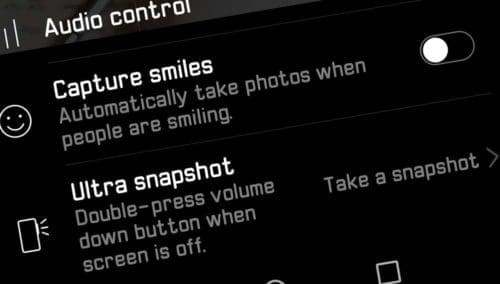
The Huawei P30 Pro has another nice feature for when you want to shoot candidly from the hip. Ultra Snapshot allows you to take a photo when the screen is off by double-pressing the volume down button.
You don’t have the opportunity to compose as well as you would normally, but Ultra Snapshot is a great way to shoot street photography in crowded spaces or perhaps fire off a shot in a situation where you might.
This is activated by default, but you can also set the camera app to open by double-pressing the volume down button. To set-up, this option, open the camera app, tap the cog icon at the top of the screen and then scroll to Ultra snapshot at the bottom and tap to see the setting options.
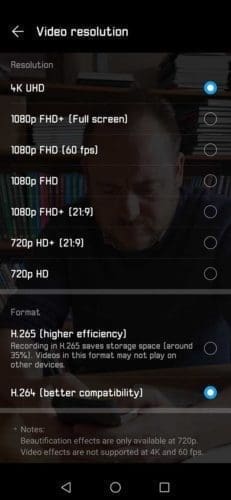
09 Set the video resolution
When you’re in the P30 Pro’s Video mode you can set the resolution in exactly the same way you’d set it in Photo mode.
When you tap the cog icon in the top right, you’ll see video resolution options for 4K UHD, 1080p FHD (full screen), 1080p FHD (60fps), 1080p FHD, 1080p FHD+ (21:9), 720p HD+ (21:9) and 720p.
What’s more, when you’re in the live view screen, if you tap More on the bottom mode slider, you can choose a Slow Motion mode that shoots 1080p HD video at 120fps.
10 Set up Aperture mode
Aperture mode is the shooting mode that lets you change the point of focus after you’ve taken a shot. Aperture mode is found on that mode slider on the bottom of your live view screen.
In Aperture mode, tap your point of focus and take the picture. Afterwards, you can then tap anywhere else in the image to make that the point of focus.
What’s more, you can then use a slider to adjust the amount of bokeh, or background blur.
11 Set up Night mode
Night mode is arguably the most impressive feature of the Huawei P30 Pro. The P30 Pro’s Master AI technology will detect light levels and automatically set up Night mode if the conditions are right.
Alternatively, you can select it on that bottom mode slider. Night mode lets you shoot handheld for very long exposures.
How it works is, the P30 Pro’s TOF camera acts as a sort of sonar and emits a faint light to gauge the scale and depth of your scene. It then creates a depth map of the scene, and the P30 Pro begins taking photos in succession, harvesting the best bits of each until it can composite a sharp, well-exposed image.
