Setting accurate exposure for video requires patience, planning and precision. To help you to understand exactly what’s required we explain some of the key exposure factors you’ll need to consider when shooting your videos…
What you’ll learn
- The importance of ISO values for video
- How video shutter speeds differ to those for stills
- The best aperture values for video
- The 180 degrees shutter rule explained
- Why and when you’ll need ND filters
- How to avoid zebra patterning
What you’ll need
- A camera with control over ISO, shutter speed and aperture settings
- A camera with built-in ND filters or an additional ND filter
- A camera with, preferably, two memory card slots
- A camera with at least a 1080p shooting capacity
If you’re a relative newcomer to shooting video – don’t worry… the basics of setting apertures, shutter speeds and ISO values remain almost the same for video shooting as they are for shooting stills. Depending on the camera you’re using you may have the option to shoot with very low compression or even RAW video.
This will give you much more flexibility when editing your video and will allow you to recover some shadow and maybe some highlight details. But our advice is to try to get the best possible footage straight out of the camera, so here are a few essential exposure pointers to follow…
Sensitivity in video
As with stills the higher the sensitivity the less light is required to expose the frame. However, due to the shutter speeds that are used for video the sensitivity will generally be at the lowest possible settings – ideally ISO 100, but ISO 200 or 400 will also suffice.
Using a higher sensitivity can introduce noise. This may be acceptable for some still images but for video noise is more random and shadow areas can be prone to looking ‘fuzzy’ and may change at a rate of say 24 times per second (if you’re shooting at 24fps), which can be highly distracting.
For good quality at high ISO, you will need a camera with a big light-capturing sensor. Most current DSLRs and mirrorless cameras will shoot acceptable video at high ISO settings (800, 1600 or even higher), but with compact cameras the quality quickly gets worse as you crank up the ISO.
As a rule of thumb, you’ll get the best quality filming at the camera’s base ISO. If that’s not possible always try to use as low an ISO value as you can.

Shutter speeds in video
For shooting digital video shutters work a little bit differently than those in cameras for capturing stills. With stills photography you’ll be relying on a mechanical shutter but when you’re recording video the noise of the shutter would be picked up.
So, instead, the shutter opens at the start and then an electronic shutter simulates the function of the mechanical shutter as you film.
When shooting stills you can choose almost any shutter speed – say up to 1/8000sec or even long exposures of several seconds – depending on what effect you want to achieve in the final image.
The critical difference between the two disciplines lies in the fact that for video you’re limited to a single shutter speed whilst filming and that shutter speed will depend on the frame rate you are shooting at. To do so you have to consider ‘the 180 degrees shutter rule’…
The 180 degrees shutter rule
The 180 degrees shutter rule relates to the fact that film cameras use rotary shutters and by changing the angle of the rotary shutter you can change the duration of the exposure. For natural looking motion in video the shutter speed should be twice the shooting frame rate.
For example, if you’re shooting at 25fps the shutter speed should be set to around 1/50sec. If the shutter speed that’s double your frame rate isn’t available, just choose the nearest one – so for 60fps go for 1/125sec.
If you shoot slower than the 180 degrees shutter rule your footage will show motion blur, which can look odd and cause a loss in detail. If you shoot at a faster shutter speed (hence a smaller shutter angle) this can create a stuttering, robotic-like motion in your footage.
Both can be used for dramatic effect – if you want something to look robotic, for example – but sticking to the 180 degrees shutter rule will give you the most natural looking movement in your footage.
Aperture values in video
The aperture setting controls the depth-of-field as well as the amount of light coming into the camera through the lens. The restrictions on what shutter speed can be used for video also have a big impact on the aperture settings that can be used.
In TV and films a shallow depth-of-field is often used creatively to isolate the subject. One of the advantages of shooting with a DSLR that has a large sensor is that you can reproduce this look and hence give your videos a ‘filmic look’.
In the past video cameras with smaller sensors couldn’t replicate this shallow depth-of-field, which is why most amateur videos have front-to-back focus.
Try using careful focusing and a shallow depth-of-field to give your videos a cinematic effect but don’t go overboard on using this style – overuse may look like you can’t film in different styles.
To do so use a wide aperture from about f/2 to f/5.6, depending on the lens and how much of the scene you want to have in focus.
The role of ND filters in video
In certain scenarios to prevent overexposure stills photographers will often simply adjust their shutter speed but, because you can’t alter shutter speeds whilst videoing, you have to deploy ND filters to reduce the amount of light entering the lens.
For example, if you want to shoot a scene at a wide aperture, with shallow depth-of-field, in bright light conditions you will need to use an ND filter.
For shooting video ND filters work in the same way as they do for stills and, depending on their strength, can cut out the number of stops of light from 1 stop right up to 10 stops (or be combined to do so).
In fact some cameras – such as the Panasonic LUMIX FZ2000, Sony RX100 V, Fujifilm X100T, BlackMagic URSA Mini Pro and Canon’s Cinema EOS cameras – have built-in ND filters that you can adjust in-camera.
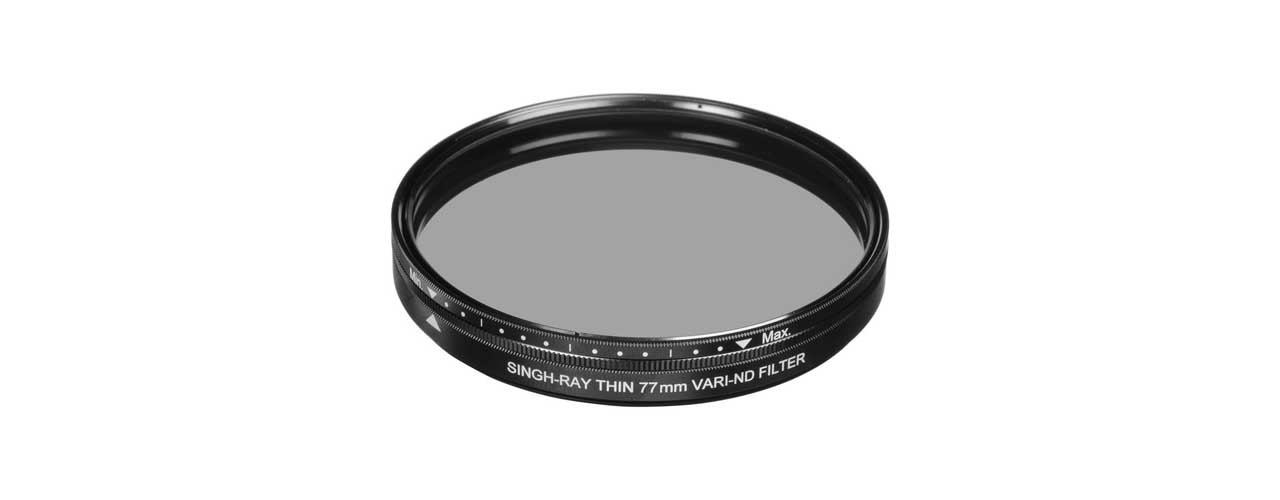
A popular filter for filming in recent times is a variable ND filter – a single circular filter that can be adjusted between 2 and 10 stops. The advantages here are the wide range of stops available and the fact that you can subtly adjust the exposure whilst filming.
If you don’t have a built-in option it’s probably worth investing in a good ND filter – from the likes of Lee Filters, Hoya, B+W or Hoya – as some of the more budget versions can cause colour casts or strange light patterns.
What is zebra patterning?
One spec that has migrated from professional video cameras to digital cameras is zebra patterning. That’s when a moving black & white striped pattern indicates the areas in an image that are blown out. Usually you can set the zebra pattern to a value.
For example, if you only want to see areas that are white, with no detail, set your zebra pattern to 100%. If you prefer to make sure you have enough detail for your edit, and that no area is white, it‘s worth setting the zebra to lower – around 95%. This will warn you of any area in the scene that’s over 95% in brightness – a good guide for helping you to set exposure.
The rules to stick to when filming video
You can see from all of the above that, unsurprisingly, adjusting exposure settings for shooting videos is a tad more complicated than doing so to shoot stills.
The need to capture a moving image with accuracy in different lighting situations does complicate matters but, much like stills photography, you can experiment and end up with your favourite settings for different types of scenes.
Just always keep the factors written about in this blog in mind, be patient and it should keep you on the right path for the best possible exposure of your video footage.
