With the Christmas season upon us, our streets and homes are awash with festive lights and colour. There’s no doubt you’re eager to dust off your camera and get shooting.
But what should you photograph? Sometimes when you’re spoilt for choice it can be difficult to decide what to shoot. What’s more, when you’ve seen so many Christmas images, no one wants to make a cliché.
If you’re feeling unsure what to photograph this Christmas, don’t fret. We’ve put together a few Christmas photo ideas to help get you started, as well as some direction for shooting them.
01 Christmas Family Portraits

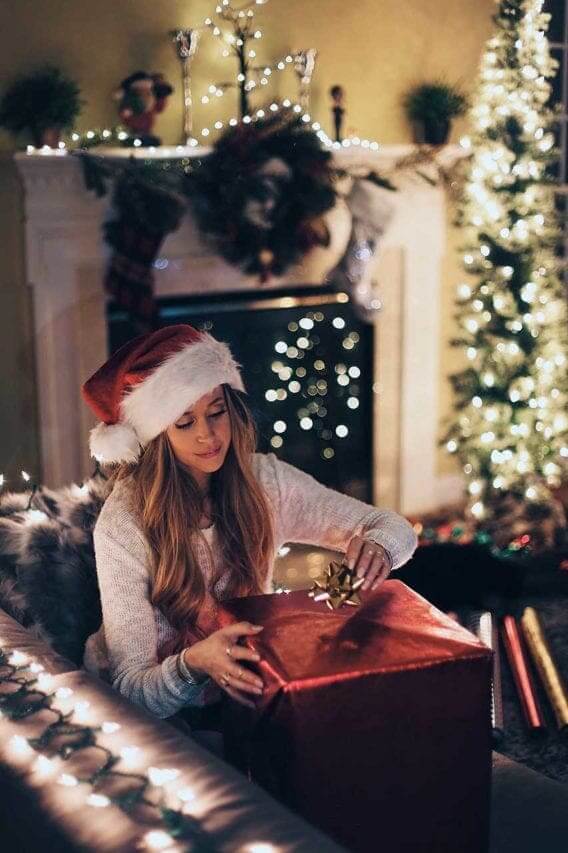
Even this year, the Christmas holidays practically necessitate family photos, so why not start here? If you’re new to photography, you may want to make use of your camera’s portrait shooting mode.
For those of you who want a little more control over your images, set aperture priority mode. A good aperture for individual portraits is something relatively wide like f/4 or f/5.6, but if you have a fast lens you can push it even further, maybe f/2.8 or f/1.8.
This will blur the background and bring all of the attention onto your subject. If your whole family steps in the shot, try an aperture of f/8 or f/11 to achieve more depth of field to ensure everyone is sharp.
You’ll want to set a shutter speed of 1/60sec or faster to freeze small movements by your subjects, and increase the sensitivity (ISO) if needed (your camera will do this for you if you set it to automatic).
Your camera’s flash can be severe and unforgiving, so don’t use it as a primary light source. Do pop it up when you need just a little extra light, however.
When shooting Christmas portraits, it’s imperative that you focus on the face of your subject (ideally the eyes). While many cameras come with a Face Detection and Eye Detection systems to help you do this, you can also set the AF point yourself (it’s usually referred to as Single-point AF, 1-Area AF or something similar).
Once you’ve located this option, choose an AF point that lies over your subject’s eye. Choose point closest to the eyes (or the centre point) if there isn’t one directly over them and then position the camera so the point overlies the subject’s eye.
Give the shutter button a half-press to focus the lens and then recompose the image with the shutter button still depressed before pushing down all the way to take the shot.
25 portrait photography tips for stunning pictures of people
02 Decorations

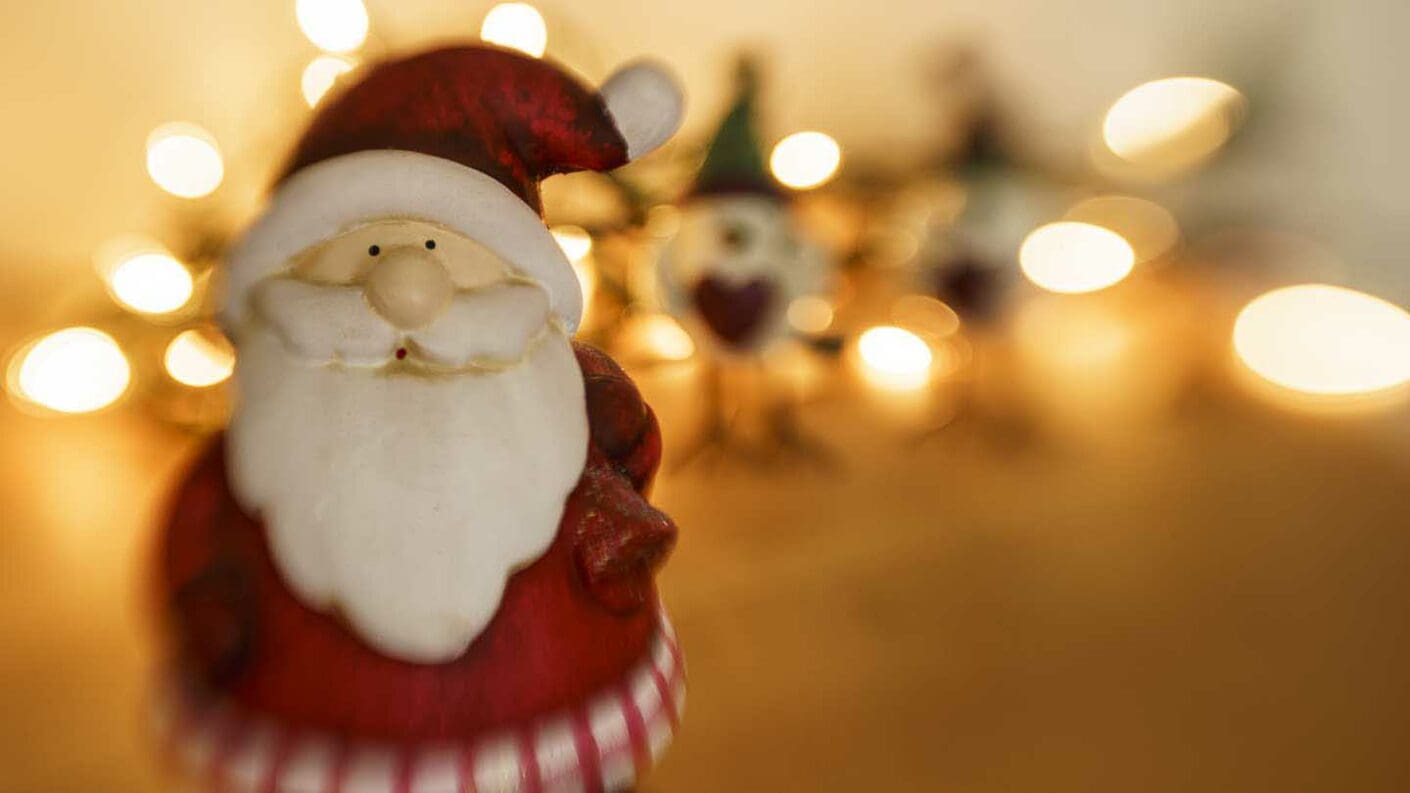
All the lovely decorations that come with Christmas provide beautiful photo ops. Maybe you’ll even come up with a greeting card for next year.
For smaller decorations, you’re going to have to get close to fill the frame. You may want to turn on your camera’s macro setting to allow you to focus even closer on your subject.
The majority of compact system and DSLR cameras, unfortunately, require macro lenses to achieve very close focus, so if you don’t have one you might have to rethink your shot altogether, or shoot from further away and crop the image post-capture.
Choose macro or still life exposure modes, or aperture priority mode for these close-up shots. When the subject is so close to the camera, depth of field can be restricted.
Using a small aperture such as f/16 can help extend that depth of field and bring more of your image into focus.
However, small apertures also mean a corresponding drop in shutter speed, which means a greater potential for camera shake and blur.
You can use high sensitivity (ISO) settings to offset this, but you’ll probably end up with lots of noise if you do.
The best solution to this problem is to use a tripod. If you don’t have one, try resting the camera on a table while using things such as books or even a rolled-up jumper to achieve the right position.
Also, be aware of what’s reflected in the decorations. Some have a mirror-like finish, meaning you’re likely to capture yourself in holding the camera in the image. Experiment with different angles to remedy this.
03 Festive Food Photos

Food is always a great subject; just don’t get bogged down in the predictable straight-above shots that are so popular on social media. These unimaginative shots do little to make the food stand out and look appetizing.
Recipe books can be a great source of inspiration for your food photography. These images are typically composed well with good colour combinations and subject presentation.
Keep in mind, though, that most of the shots you’ll see in recipe books have been taken of cold food. While this may work when it comes to cake, mince pies, sausage rolls and biscuits, it’s not so practical for your Christmas turkey.
Even if your camera comes equipped with a Food scene mode, it’s still best to stick with aperture priority.
Wide apertures such as f/5.6, f/4.0 or larger work well with food photography, emphasising the food that’s the point of focus while blurring the foreground and background.
This makes the food stand out and clearly defines it as the subject. Even though your background will be blurred with a wide aperture, don’t dismiss it.
You’ll want a crisp, clean background or something that’s connected with the food. Also, make sure you the light hits the food evenly, taking care to avoid any deep shadows or harsh highlights.
Custom White Balance control can come in handy if you’re shooting in artificial or mixed light.
To set a Manual or Custom white balance setting, typically you’ll select the correct mode, photograph a white object (such as a piece of computer paper) in the same light that you’ll be shooting your subject in and then your camera will use that to determine the white balance. Refer to your manual for complete instructions.
04 Winter Landscapes

There’s nothing like a nice long walk after Christmas dinner to wrap up the day. This is a great opportunity to snap a few landscape shots.
Landscape exposure mode, which can be found on most digital cameras, is designed to produce as sharp a scene as possible.
Additionally, it sets the white balance to a value that’s suitable for shooting outdoors, and it may even augment greens and blues just a bit.
Of course, you can make all of these adjustments on your own.
First, to achieve as much sharpness in the scene as possible you’ll need a small aperture like f/16 or f/22 to create a large depth of field.
To maximize sharpness with this much depth of field, you’ll want to focus about one-third of the way into the scene. This is because depth of field reaches about twice as far past the point of focus as it does in front of it.
In terms of white balance, you’ll be fine sticking with the automatic setting, but try using the Daylight or Sunlight setting, or even Shadow or Cloudy to add a bit of warmth to your shots, particularly around dawn and dusk.
You might also want to take a look at your camera’s Picture Style, Picture Control or Film Simulation options to tell your camera how to manage colour in JPEG images.
While the Standard option produces the best results for many scenes, the Landscape option is worth giving a go to see how it enhances greens and blues in your shots.
25 portrait photography tips for stunning pictures of people


