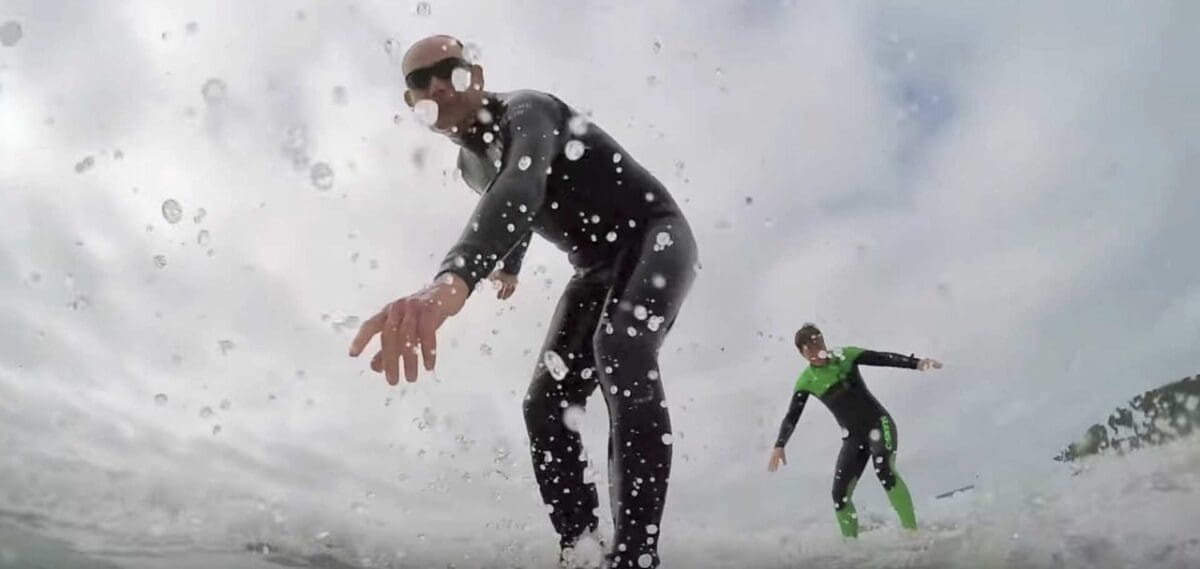
Dedicated surfers may prefer the bigger swells of autumn, winter and spring, but summer is still the most popular time for surfing, especially with beginners. Whether it’s your first time out or you’re an old timer with the dings to prove it, it’s nice to capture your best board moves in a movie. In this guide, we’ll explain how to use a GoPro to video surfing.
Why use a GoPro to Video Surfing?
Unless you have a waterproof housing, the ocean is usually a no-go area for cameras. However, GoPros were developed with things like videoing surfing in mind. Consequently, GoPros like the Hero6 Black, Hero5 Black, Hero4 Session, Hero5 Session and the new GoPro Hero are all waterproof without a housing. Some older models have a housing to keep water at bay.
Size is another important consideration when videoing surfing. You don’t want to be weighed down by a heavy camera when you’re trying to catch a wave. A small, light camera like a GoPro is ideal.
Which mount to use
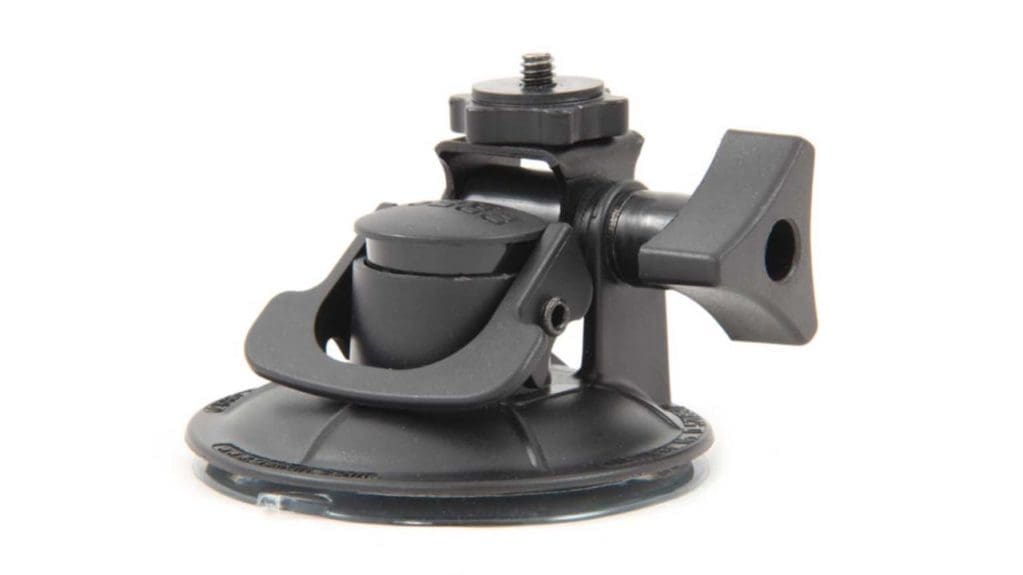
I’ve had some success using a suction-cup type mini tripod like a Delkin Devices Fat Gecko mounted on my board. However, you need to make sure it’s got a good grip on a flat, wax-free section of clean board.
GoPro also makes a dedicated surfboard mount that sticks directly onto the deck of your board. It’s perfect for use on mini mal and longboard surfboards. It’s less suitable for use on a shortboard as the camera is likely to be up your nose when you’re paddling.
The GoPro Surfboard mount uses two disks, one with the camera mount and the second smaller one to attach a tether. If the mount comes off, the tether should save your camera.
If you’re careful how you adhere the mount to your board it should stay stuck. I’ve kept one on both of my surfboards and my skis for a few years. It’s crucial that you make sure that there’s not a scrap of wax on your board where you attach the mount. Make sure the area is spotlessly clean and dry, and ideally at room temperature, before peeling off the cover from the sticky pad and attaching the mount to your board.
Attach the mount to your board a good 24 hours before you plan to surf to make sure that you’ve got good adhesion. Find a flat part of the board, close to the tip and out of your way when you’re paddling or riding a wave.
Video from Another Angle
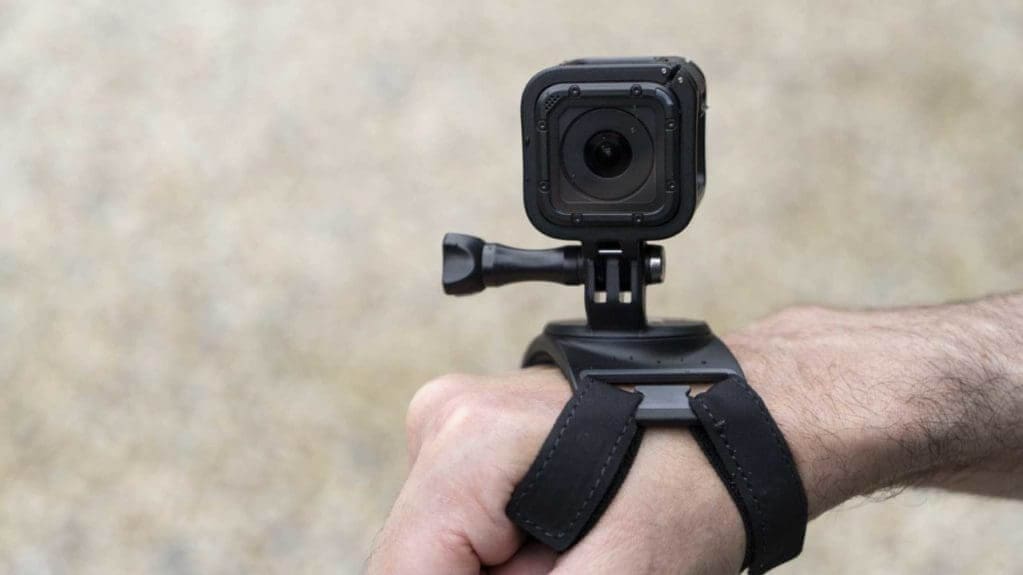
A hand or wrist mount makes a great choice when using your GoPro to video surfing. It keeps your hands free to grasp your board or paddle and the camera is safe.
GoPro’s Hand + Wrist Strap shown below is a great choice. You can rotate the camera so it’s at the right angle and hold it at arm’s length for a video selfie.
Which GoPro Settings should you use to Video Surfing?
Even if you have a longboard, you’ll usually find you need the widest angle of view available on your GoPro to get everything in at close quarters.
The GoPro SuperView setting can be useful if it’s available on your camera. It enables the whole height of the sensor to be used to record the footage and then stretches the edges to fill the frame.
It means that you can record the top and bottom of the frame which is otherwise lost. Consequently, you stand a better chance of recording your head and your feet when your standing on the board.
A base setting of 60fps will work well for surfing, however, using 120fps gives you even more scope for slow-motion replay. That’s particularly helpful if you’re new to surfing and you don’t stand-up for long. It’s also good for capturing turns or water spray.
How to Video Surfing with a GoPro
Shooting from just one angle usually results in quite a dull surf video. For the best results catch a few waves changing the camera angle every two or three waves. Aim to get footage of yourself, the direction you’re riding in, the waves and maybe looking one side or the other.
If you’re with a friend, you could leave your board on the beach for a bit and catch some footage of them as then ride in. Hopefully, they will return the favour for you.
Be Prepared and Careful
You need to avoid opening your GoPro’s ports when it’s wet. Make sure that the battery is fully charged and the card is freshly formatted. This will give you the maximum possible recording time. If you desperately want to continue recording once the card is full or the battery is dead, paddle in, dry the camera carefully and change the card/battery.
I’ve learned from bitter experience that it’s easy to lose a GoPro in the sea. A loose wrist strap is all it takes – but let’s not dwell on that! Learn from my experience and go into the shore whenever you move your camera from one mount to another. Don’t do it at sea.
You can also attach a GoPro Floaty to your camera to make it float. This is great for a Hero Session as it fits around the camera. However, it sticks to the back of a Hero Black, which is more awkward as you then can’t see the screen.
