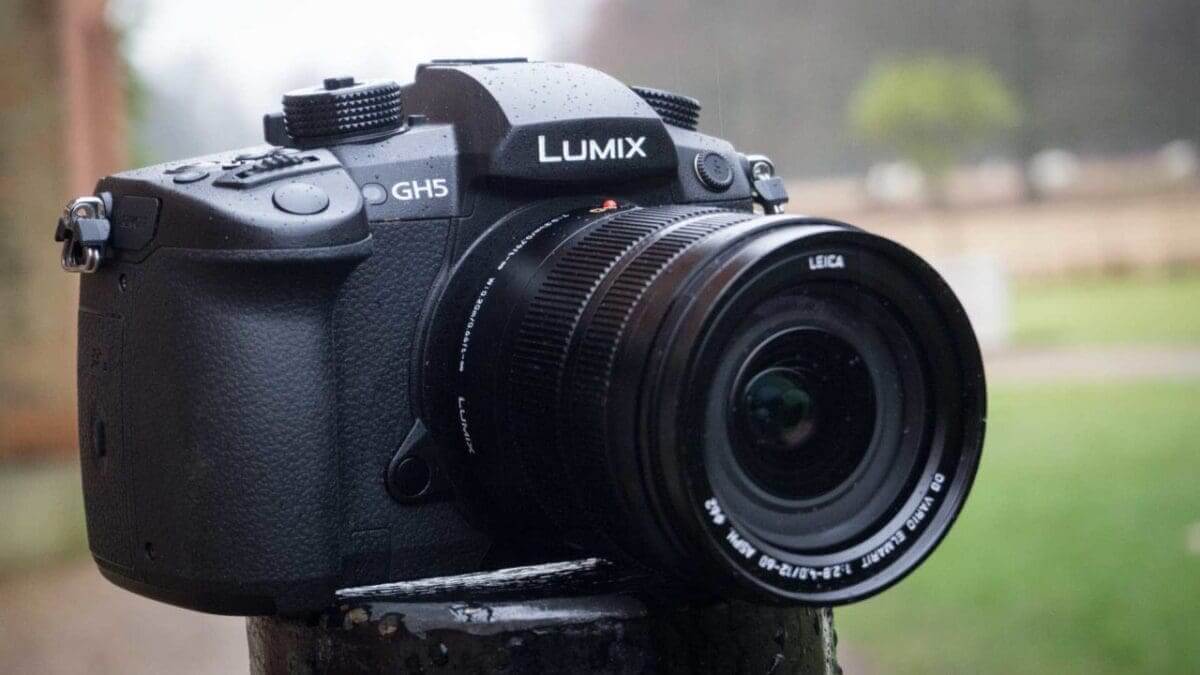
We’ve been shooting with the Panasonic GH5 for a few days now and have shot over two thousand images in a variety of situations. We’ll bring you the full review very soon but we thought it would be nice to share a gallery of Panasonic GH5 raw files that have each been processed in under 5 minutes using Adobe Camera Raw (Photoshop).
We’ve already shared a gallery of images that are straight from the camera. This new gallery contains images that have been processed to create attractive, stylised images rather than straight reproductions of the scene. As well as having fun by experimenting with a few raw files to see what can be created, we’ve been looking at lots of other raw files to check out the camera’s full stills capability.
Processing raw files gives us the opportunity to look at the latitude of the images – their ability to cope with under or over exposure and assess dynamic range. It’s also interesting to compare the raw files with simultaneously captured jpegs to see the difference in how the noise is handled.
First impressions of the Panasonic GH5 by pro user Ross Grieve
The image of the bunch of roses was taken at ISO 800 and although there’s a hint of noise visible in the shadows at 100% on-screen, it’s subtle there are some very fine details visible elsewhere.
Meanwhile the close-up image of the tulips petals was shot at ISO 5000 and again noise is controlled well and there’s an impressive level of detail visible at 100% on-screen.
The image of the single rose (which is not the same colour as the bunch of roses) was shot under natural light which came from a north-facing window. It was shot using the Daylight white balance setting with the Standard Photo Style and this has resulted in a very vibrant image that looks more magenta than the original scene. Adjusting the white balance to increase the level of yellow produces a more accurate result.
As I said at the outset, our review is underway and will be published soon. We’ll also add a few more images to this gallery.
Panasonic GH5 raw files after 5 minutes in Photoshop


